IONEXX
0
IONX
(current)
XFLO
XOME
Total
$
0
Cart
No items in Cart.
#
Product
Info
Price
1
2
3
4
5
2e
2w
2e
2r
Ship
Auto Calculate
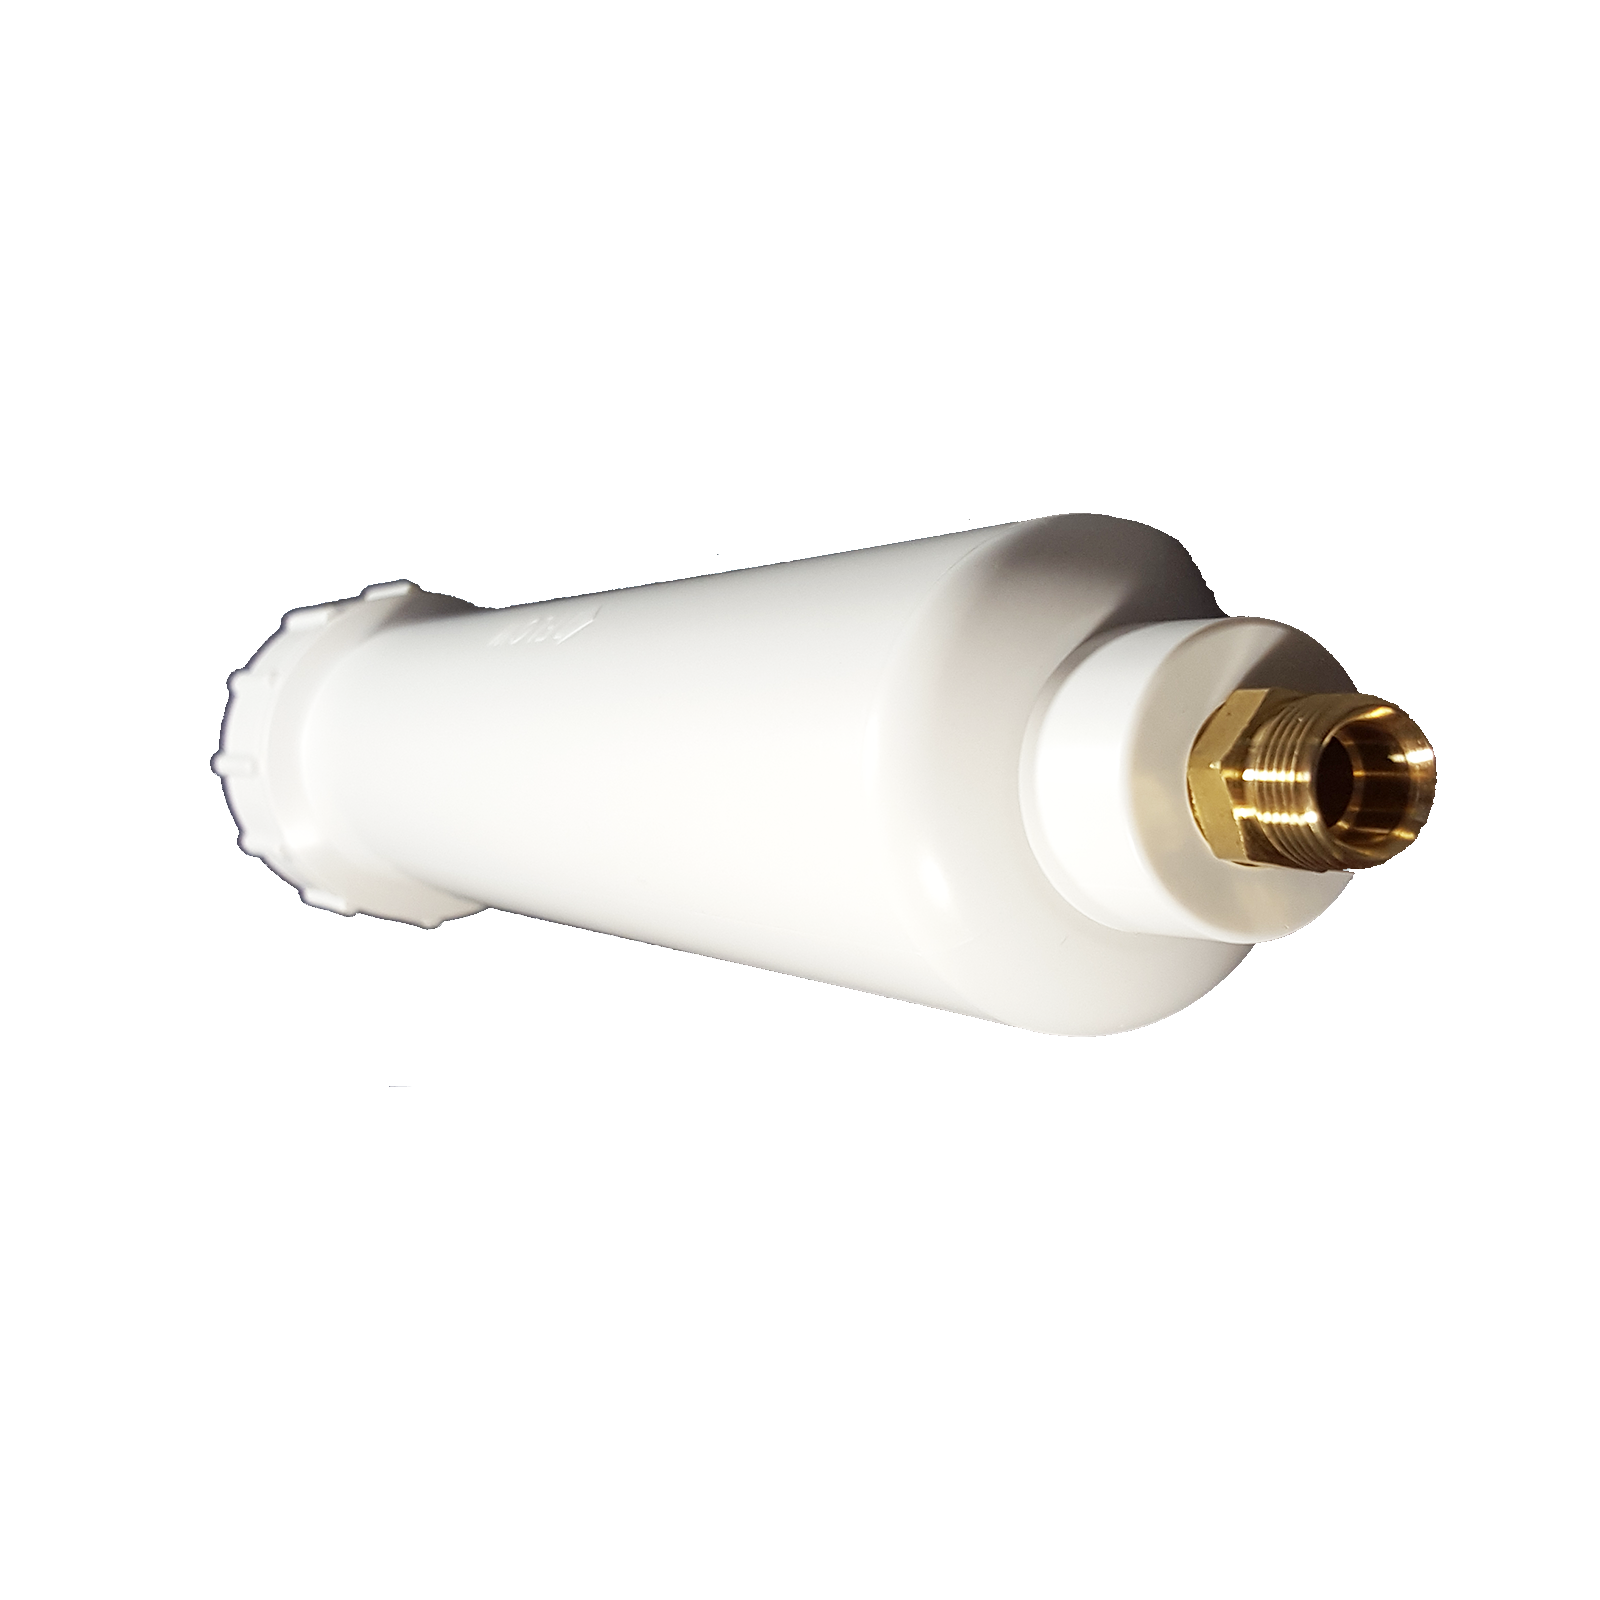
XFLO
Water Filter- $79
XFLO
Add Pressure Hose - $8
XOME+
Add Ethernet - $20
Warranty
2 Year Warranty - $20
Rods
OEM set of Silver Rods - $37
-
Checkout
Pay $
Powered by
Stripe
IONX
Colloidal Silver Generator
$99 or $24/mo. for 4 mo.
Learn More
Nano Silver made with Ultrasound
IONX Collodial Silver Generator uses ultrasound to manufacture silver nano particles. Simple to use, and ready in just 25 minutes.
Learn More
RMA
Generator
RMA
Full Water Pressure
XFLO Water Filter filters water at full water pressure. Easy DIY install. Removes Fluoride, Softens Tap Water, Universal Design, No media to replace.
Learn More
XOME
Homebridge
$119 or $29/mo. for 4 mo.
Learn More
Adds 3000+ Accessories to HomeKit
XOME Homebridge is a wireless mini server which securley installs on your own home network. Setup is easy.
Learn More
FREE SHIPPING -
FREE RETURNS -
FREE SHIPPING -
FREE RETURNS -
FREE SHIPPING -
FREE RETURNS -
FREE SHIPPING -
FREE RETURNS -
FREE SHIPPING -
FREE RETURNS -
FREE SHIPPING -
FREE RETURNS -
FREE SHIPPING -
FREE RETURNS -
FREE SHIPPING -
FREE RETURNS -
FREE SHIPPING -
FREE RETURNS -
FREE SHIPPING -
FREE RETURNS